USING WEBEX: DESKTOP VERSION
3.2
Schedule a meeting
In the following we will explain how to schedule a meeting in order to be able to hold a session with all participants.
Set up and start a meeting
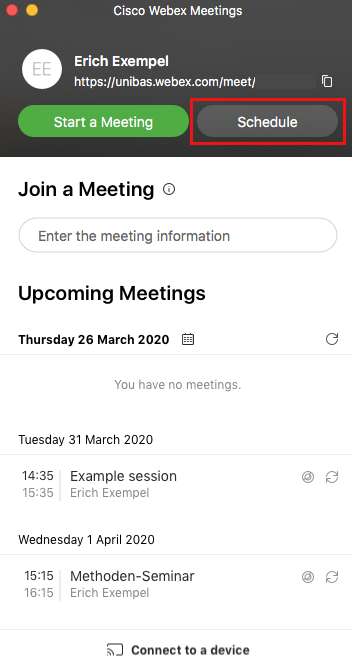
- Open the Cisco Webex Meetings app and click on “Schedule”.
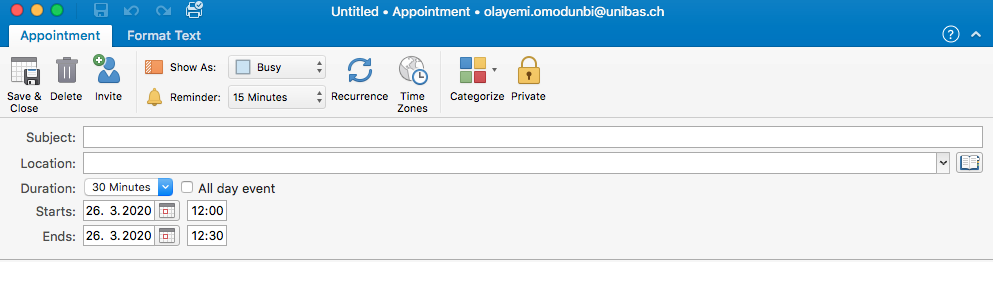
- Now your email program “Outloook” opens. In the window that has now reopened, you can specify the subject, date, time and duration of your Webex meeting and invite participants. If it is to be a regular meeting, you can specify this more precisely via “Recurrence”. Once you have entered all the information, click on “Save and close” or on “Send” if you have entered participants’ email addresses (“Invite”). The Webex appointment is now visible in your Outlook calendar. The participants have also received an invitation to your Webex meeting, which contains all the information they need to attend the meeting. The invited persons can accept or decline the meeting via this email.
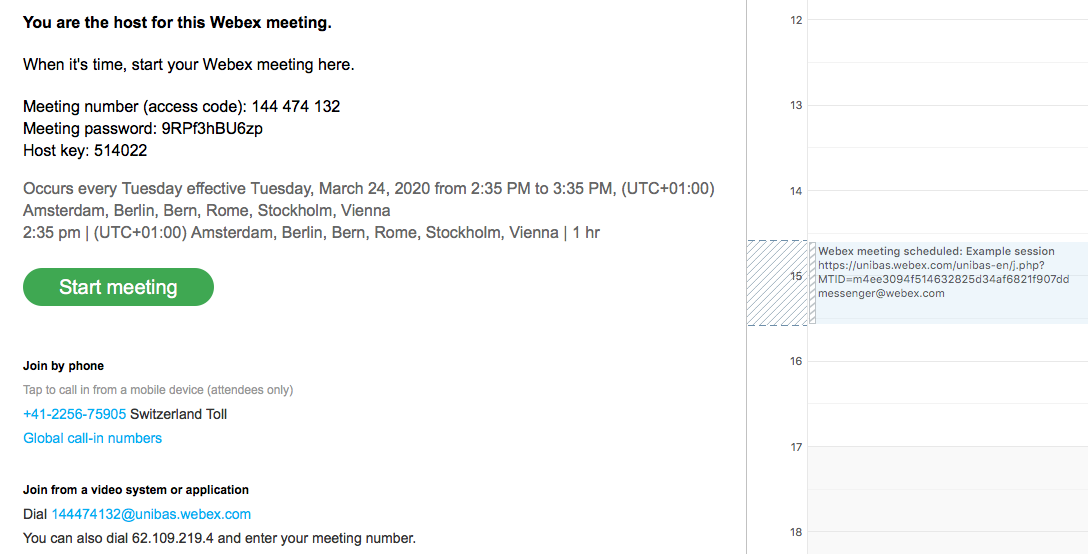
- You will receive a confirmation email, in which all important information about the Webex session you have just created will also appear. Via this email you can pass on the meeting information to other people (e.g. those outside of Outlook). To do so, send the meeting number (access code) and the password to the persons to be invited. If the meeting should start in the next few minutes, you can also click directly on “Start meeting” in the email.
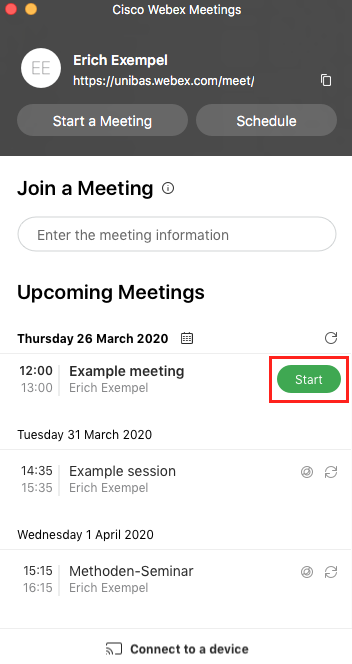
- If the meeting is further away, you will receive a reminder email shortly before the meeting starts, in which you will again see all the necessary information for participating in the meeting and also have the opportunity to start the meeting. Of course you also have the option to start a meeting via the Cisco Webex program.
License
University of Basel