DETAILS: TEXT
4.1
MS Word: Styles
MS Word has preset style formatting that will work well for you – with some limitations. The style settings can be found in the “Start” menu and can be enabled or edited there.
MS Word’s preset styles are not fully accessible: the standard character size and spacing are too small, and the font color for headings is too faint. You will have to change these.
For documents used at the University of Basel, we recommend the university’s “Report” template (available on ADAM). It is pre-formatted to be largely accessible. (The “Letter” template, on the other hand, is not recommended for digital use, since it is partly formatted as a table. This prevents the screen reader from reading it correctly. However, it is suitable for a printed letter.)
If you want to create a document together with other people, we recommend using a collaborative online editor such as Google Docs or OnlyOffice on SWITCHdrive. If an MS Word document is sent back and forth between multiple computers, the formatting tends to become confused, which can make the document unreadable for a screen reader.
Assigning styles
Every element in your text must be assigned to a style. The quickest way to do this is by using predefined styles.
- Highlight the desired element (e. g. a heading).
- Click Start > Styles
- Click the desired style
Creating a new style
There are various ways to create a new style. Here is the simplest way:
- Design the desired text element manually (with the buttons under “Start”).
- Highlight the text element.
- Right click > Styles > Create a style > Name the style
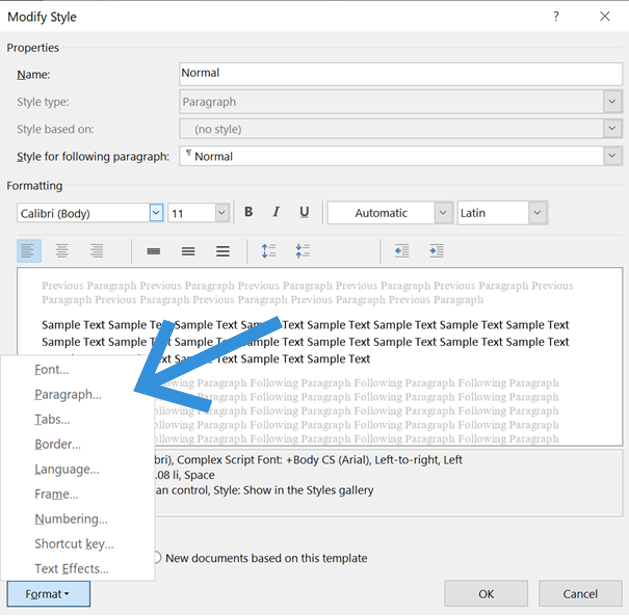
Modifying a style
- Right-click the Style > Modify.
- The first section shows only the style’s general settings. Details can be set in the various sub-items, which can be accessed by clicking “Format” at the bottom left.